This post will document the process in which I used in order to edit the pictures that were taken for my landscape photography project.
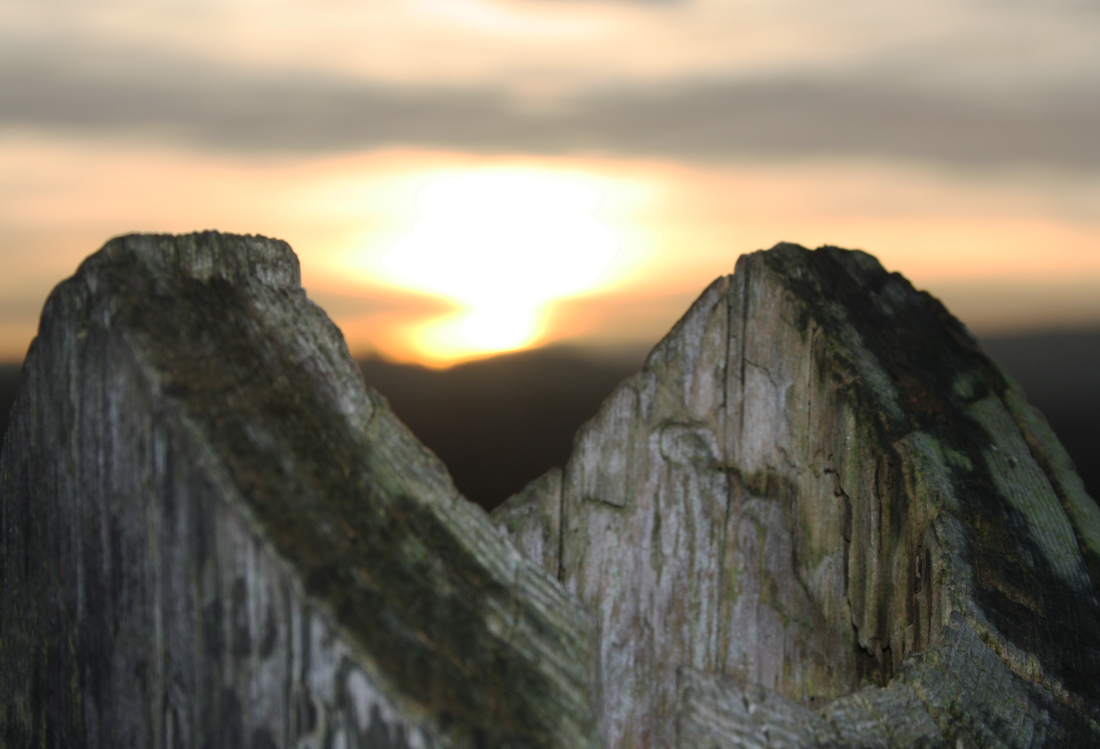
While editing this image I first rotated and resized it by using the crop tool. I then used various adjustments such as: changing the brightness, contrast and using the curves tool in order to make different areas of the picture brighter or darker.
The spot healing tool was also used to remove small parts of the image that were not wanted such as small bits of moss on the wooden beam.
The spot healing tool was also used to remove small parts of the image that were not wanted such as small bits of moss on the wooden beam.

No cropping was used for this image - only brightness enhancements were made to the image. Just like the first image brightness and contrast was adjusted in order for the image to become more vibrant.
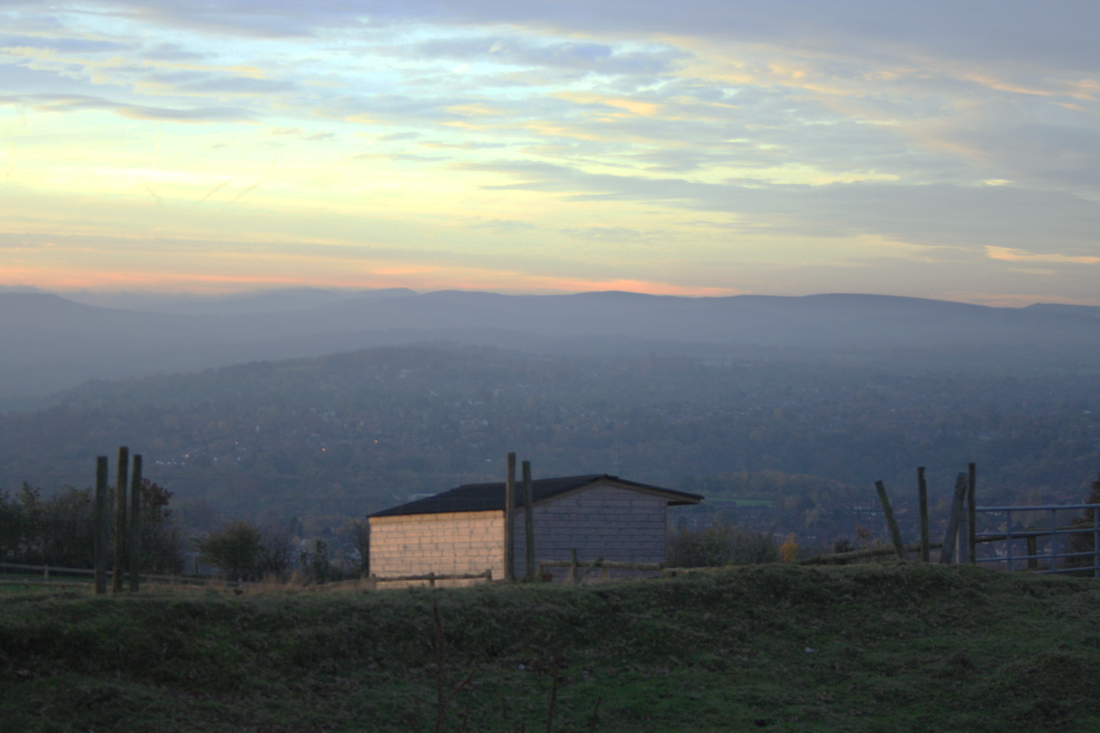
Again, no cropping was used while editing this image and only adjustments to brightness and contrast were made to brighten the image up. I used the brightness tool to make the whole image brighter overall, making the foreground visible rather than black. The curves tool was used to make the background of the image brighter in order to make the clouds as well as colours in the sky stand out more.
Editing the colours also allowed me to remove any glare on the building and make the white more vivid instead of leaving it as a dark orange.
Editing the colours also allowed me to remove any glare on the building and make the white more vivid instead of leaving it as a dark orange.
 RSS Feed
